
Integrating FastAPI and React: Building a Full-Stack Application
In today's world of web development, the ability to seamlessly integrate frontend and backend technologies is a must. In this post, we're going to explore building a full-stack application using FastAPI and React, two popular and powerful technologies that are gaining ground in the developer community.
Introduction to the Tools
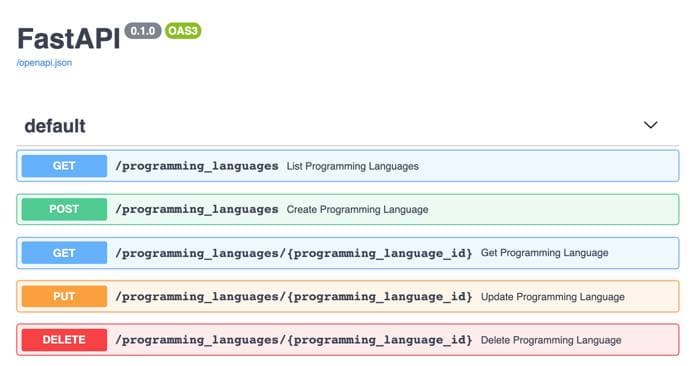
FastAPI is a modern, fast (high-performance), web framework for building APIs with Python 3.6+ based on standard Python type hints. It is easy to use and encourages good software design practices, such as the use of dependency injection. FastAPI's key features include automatic interactive API documentation, based on OpenAPI and JSON Schema, and its incredible performance.
React is a JavaScript library for building user interfaces, maintained by Facebook and a community of individual developers and companies. It allows you to create reusable UI components and makes it painless to create interactive UIs. React’s component-based architecture greatly simplifies the development of complex user interfaces.
Setting Up Your FastAPI Backend
Firstly, we'll need to set up our FastAPI backend. Let's create a simple API for a hypothetical to-do list application.
Install FastAPI and an ASGI server, such as uvicorn (this is what I used in production for govtrades.io):
pip install fastapi uvicorn
Now, create a new file, main.py, and add the following code:
- Note: it is recommended to set up a virtual environment such as virtualenv or miniconda.
from fastapi import FastAPI
from pydantic import BaseModel
from typing import Optional, List

app = FastAPI()

class Todo(BaseModel):
    name: str
    due_date: str
    description: Optional[str] = None

todos = []

@app.get("/todos")
async def get_todos():
    return todos

@app.post("/todos")
async def add_todo(todo: Todo):
    todos.append(todo.dict())
    return todos[-1]

@app.delete("/todos/{todo_id}")
async def delete_todo(todo_id: int):
    todos.pop(todo_id)
    return {}
This code creates a FastAPI application and sets up three endpoints: one for getting all to-dos, one for adding a new to-do, and one for deleting a to-do. Each to-do is represented as a Python dictionary with a name, due_date, and optional description.
You can run your FastAPI server using the following command:
uvicorn main:app --reload
Setting Up Your React Frontend
Now that our backend is set up, let's turn our attention to the frontend.
We'll be using Create React App to set up our React project. Install it globally using the following command:
npx create-react-app todo-app
Then, navigate into your new project directory and install axios, a promise-based HTTP client for the browser and node.js:
cd todo-app
npm install axios
Create a new file, App.js, and add the following code:
import React, { useState, useEffect } from 'react';
import axios from 'axios';

function App() {
  const [todos, setTodos] = useState([]);

  useEffect(() => {
    axios.get('http://localhost:8000/todos')
      .then(response => {
        setTodos(response.data);
      });
  }, []);

  // any other code you want to add will go here

  return (
    <div className="App">
      {/* All the Todos... */}
    </div>
  );
}

export default App;
This code creates a React component that fetches the to-dos from our FastAPI backend when the component is first rendered. We're using the useState and useEffect hooks here, which are built-in React hooks that allow us to add state and side effects to our function components.
Integrating the Frontend and Backend
Now we have our separate frontend and backend set up, it's time to integrate them. Let's add functionality to our React app to add and delete to-dos.
Here's how our App.js should look after adding the new functionality:
import React, { useState, useEffect } from 'react';
import axios from 'axios';

function App() {
  const [todos, setTodos] = useState([]);
  const [newTodo, setNewTodo] = useState({name: "", due_date: "", description: ""});

  useEffect(() => {
    fetchTodos();
  }, []);

  const fetchTodos = () => {
    axios.get('http://localhost:8000/todos')
      .then(response => {
        setTodos(response.data);
      });
  }

  const addTodo = () => {
    axios.post('http://localhost:8000/todos', newTodo)
      .then(() => {
        fetchTodos();
        setNewTodo({name: "", due_date: "", description: ""});
      });
  }

  const deleteTodo = (todoId) => {
    axios.delete(`http://localhost:8000/todos/${todoId}`)
      .then(() => {
        fetchTodos();
      });
  }

  return (
    <div className="App">
      {/* Display form to add new todo */}
      <div>
        <h2>Add a New Todo</h2>
        <input
          type="text"
          placeholder="Name"
          value={newTodo.name}
          onChange={e => setNewTodo({ ...newTodo, name: e.target.value })}
        />
        <input
          type="text"
          placeholder="Due Date"
          value={newTodo.due_date}
          onChange={e => setNewTodo({ ...newTodo, due_date: e.target.value })}
        />
        <textarea
          placeholder="Description"
          value={newTodo.description}
          onChange={e => setNewTodo({ ...newTodo, description: e.target.value })}
        />
        <button onClick={addTodo}>Add Todo</button>
      </div>

      {/* Display list of todos */}
      <div>
        <h2>Your Todos</h2>
        {todos.map((todo, index) => (
          <div key={index}>
            <h3>{todo.name}</h3>
            <p>Due: {todo.due_date}</p>
            <p>{todo.description}</p>
            <button onClick={() => deleteTodo(index)}>Delete</button>
          </div>
        ))}
      </div>
    </div>
  );
}

export default App;
This code adds functions to add and delete to-dos, which are called when the corresponding buttons are clicked. It also includes a form to add new to-dos, and it displays the list of current to-dos. Each to-do is displayed with a "Delete" button that calls deleteTodo() when clicked.
You can run your React app using the following command:
npm start
or if you decided to use a framework such as Next.js
npm run dev
Now, navigate to http://localhost:3000 in your web browser, and you should see your React app. You can add and delete to-dos, and the changes will be reflected in your FastAPI backend.
Wrapping Up
There you have it: a simple full-stack application using FastAPI and React. There's certainly more we could do here, like adding the ability to edit existing to-dos, improving the UI, or adding user authentication, but this gives you a good starting point.
The beauty of this stack lies in its simplicity and flexibility. FastAPI's ease of use and powerful features make it a joy to build APIs with, and React's component-based architecture allows for highly complex, interactive UIs. Together, they make for a robust and scalable full-stack application.
I hope this guide helps you understand how you can integrate FastAPI and React to build powerful full-stack applications.
- Note: Please ensure to properly handle errors and edge cases in production applications. This guide is meant to be a simple demonstration of how FastAPI and React can work together.